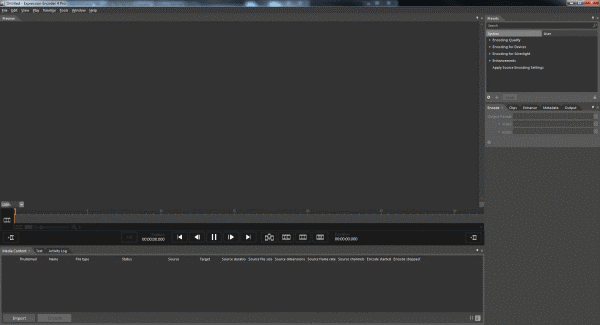
Microsoft Expression Encoder is an application that allows you to record your screen, and also audio. This can come in handy for those who wish to record instructional videos, or if you want to record yourself playing a video game, or pretty much anything else. You won’t need to enter a product key. If you’re asked for one, you can skip that page and simply continue.
To get started, you need to first download a copy of Microsoft Expression Encoder. You can do this by going to this link. This will take you to the Microsoft download center, and all you need do is click on the download button. You may be taken to another page where it will prompt you to download the file. Just go ahead and save it to you computer. Once the file has downloaded, you simply have to click on it to begin the installation process and follow the instructions. During the installation process it will not only install the Microsoft Expression application, but also a screen capture codec, that will allow you to capture the screen and audio from your computer. It will also enable you to save the video you’re recording into a file format you can use later to edit the video.

One you’re done installing the program, you should be able to find it listed as a new program in your start menu. It will be called Expression Encoder Screen Capture or something similar. When the program runs, you may see an informational screen saying the program is limited to only ten minutes of screen capture. This is because this is the standard version of the software, so if you want to record for more than ten minutes, you’ll have to split your video into sections and join them again later. Most instructional videos are less than ten minutes anyway, so this shouldn’t be too big of a deal.
To get the best out of the software, you should probably alter some settings before recording. So click on the “gear” icon, which will open up a settings screen. The best frame rate is about 30fps, so just change that on the drop down menu. Also change the quality to 100. Also if you’re going to be using a microphone during the recording, click on the audio tab, and select the microphone you’re going to be using, and choose a bit-rate of 256.
To start a recording, just click on the red record button. You will get a window on your screen that can be resized to how you want. You can record either the entire screen or just a portion of it. Once you’re ready and happy with your screen size, go ahead and click on record once more to start your recording. Click on stop when you’re done.
Once you have finished a recording you will be presented with another screen where you can choose to open your recording in Expression Encoder 4 for encoding. Choose an output directory on the right hand side of the screen – your desktop might be a good place. Click on file, and then encode, and your video will be created. The standard video type is a WMV file, so you can view your video in Windows Media Player. That’s all there is to it really.
via : GHacks


No comments:
Write comments